
Create a Basic Messaging for Web Deployment in Five Minutes for an Agentforce Service Agent
To test Agentforce Service Agent, set up a basic Messaging for Web deployment in five minutes.
In this example, we’ll set up a Messaging for Web channel in an Experience site. We assume that you already have a Salesforce org with Omni, the Omni widget, an Agentforce Service Agent bot, a fallback queue, and an Experience site enabled.
There are four building blocks to this Messaging for Web setup process:
- Create an Omni-Channel flow
- Establish a messaging channel
- Create the end user interface
- Add Messaging for Web to your site
Set Up Routing
Use an Omni-Channel flow to direct incoming messages to an Agentforce Service Agent. The flow is later connected to your Messaging channel to ensure that customer requests go to the right place.
- Go to Flows in Setup and create a new flow from scratch.
- Select Omni-Channel Flow, and click Create.
- Create a New Resource with the Resource Type set to Variable, the Data Type set to Text, and the Availability Outside the Flow set to Available for Input.
- Create a Route Work flow element with Record ID Variable set to recordId, Service Channel set to Messaging, Route To set to Bot, and your Agentforce Service Agent selected in the Bot field.
Save and activate your flow.


Create a Channel
- Save and activate your flow.
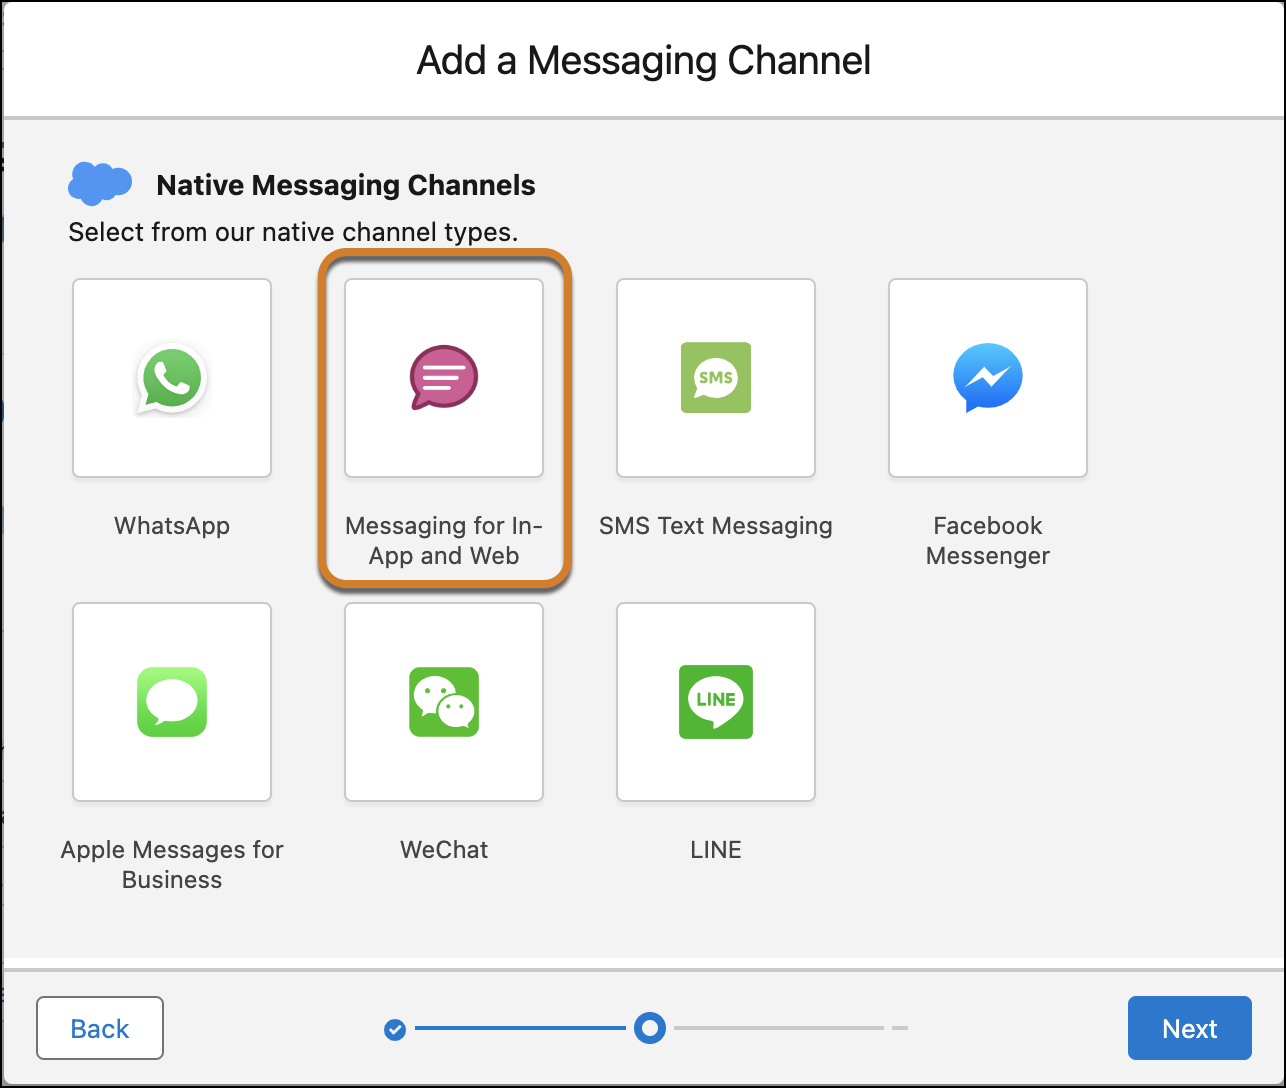
Establish a channel to specify the type of messaging that you’re adding to Salesforce. In this example, choose Messaging for In-App and Web.
- Go to Messaging Settings in Setup, and create a new channel.
- Select Messaging for In-App and Web as your channel type, name the channel, and save it.
- On the landing page for your Messaging channel, in the Omni-Channel Routing section, click the pencil icon to add the flow you just created to the Flow Definition field. Then add a queue to the Fallback Queue field.

- Activate the channel and accept the Terms and Conditions.
Create the Customer Interface
Create the messaging user interface, known as a deployment. Tell the deployment which domain and channel to associate with. Customize it to your workflow by adding business hours, adding your supported languages, or branding with logos, colors and fonts.
- Go to Embedded Service Deployments in Setup, and create a new deployment.
- Select Messaging for In-App and Web, then choose whether it’s for Web, Mobile, or a Custom UI. For this example, select Web.
- Name your deployment. Then connect it to your domain and messaging channel.
- Save your changes, and publish your deployment.


Add the Embedded Messaging Component to Your Site
Publish your Messaging channel to your site so end users can engage with it.
- Open your Experience site in the Experience Site Builder.
- Select the Embedded Messaging component from the Experience Builder Components list, and drag it onto the footer of your site template.

- Click to highlight the Embedded Messaging component, and make selections from the four fields in the Property Editor.
- Publish your site.
- To confirm your site domain, from Setup, enter Digital Experiences in the Quick Find box, and then select Settings. Copy the URL from the Domain section.

- Go to CORS in Setup, select New, and paste in the URL. Add the https:// protocol to the URL.
- Save your work.
Now, when you go to your site, you’ll see the chat button. To test it out, initiate a conversation as an End User on your site.

This is a basic deployment. To learn more about full setup and optimization, review our complete setup guide.
SEE ALSO: