
Tele or virtual Scenarios using Salesforce Scheduler
Salesforce Scheduler can be used to cover Tele scenario or Virtual scenarios too. Here is how…
Setup Steps
1. Create a Virtual Territory
Create a single territory which will be treated as a Virtual Territory and add your resources in here
2. Skip Territory flow
Click here to see how one can Skip the territory selection and hardcode the flow to select a virtual territory
3. Integrate with external Video conferencing providers
a. Click here to integrate Scheduler with Webex
b. Click here for Visual Remote Assistant
c. Click here for Amazon Chime
d. Click here for Zoom
e. Click here for Microsoft teams
Note: There are other models too where you could have the same resource in multiple territories as a secondary resource. Now if a customer selects a face to face appointment, you could call a scheduling policy with only only Primary Resources flag and if your customer selects a video / phone call you could also have the Secondary Resources flag checked which will allow this customer to setup meetings with all your primary and secondary resources, there by giving you additional capacity.

Performance Considerations
Precision scheduling is a performance intensive affair and it considers several different elements while coming up with the available time slots – skills, skill levels, resource holidays, working hours, location, etc.
Performance improvements tips
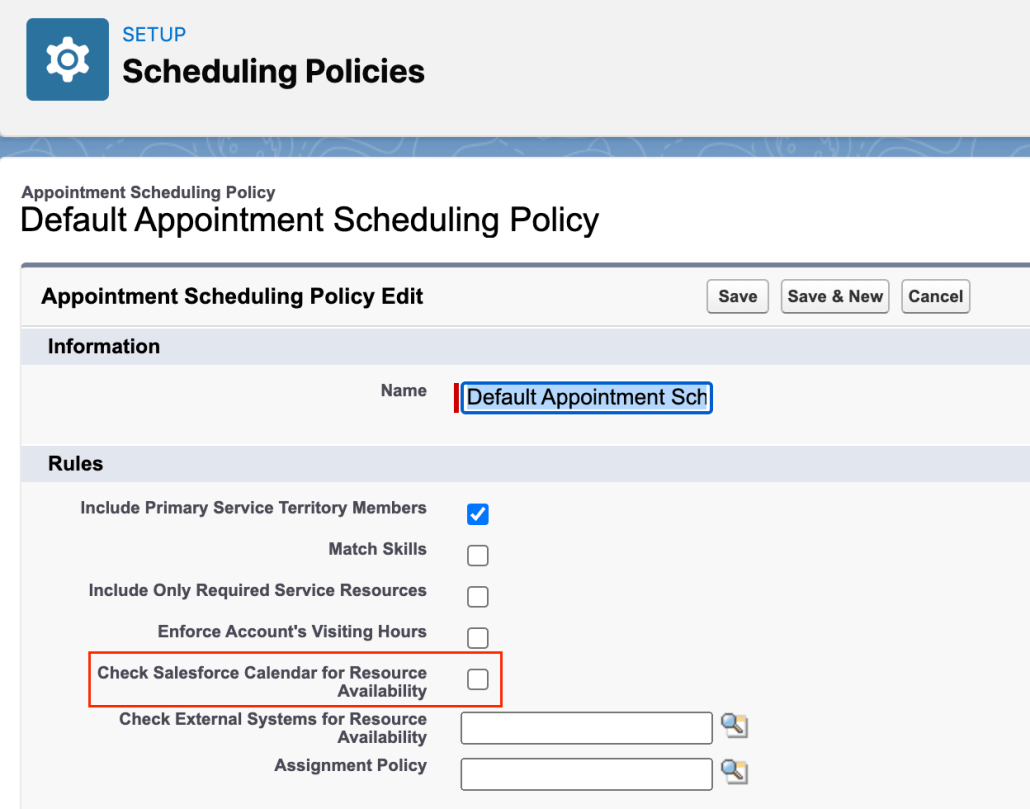
1.Remove Event checks in Scheduling Policy
If you are not checking Salesforce Calendar for Resource Availability then disable it.
2.Reduce Time range
Reducing the time range that you fetch the Resources & Time Slots for, helps improve the performance of the Scheduler algorithm and allows you to query more eligible resources. Using this mechanism, you have certain controls present
Flows: Use Time slot multiplier to reduce the number of days you are querying for from 14 (default) to 7 by reducing this Time Slot Multiplier flow variable to 1. Click here for details
APIs: Use Start Time & End Time to reduce the number of days you are querying the system for (default is 31 days.) Click here for details
3.Appointment Distribution
Using the new capability introduced in Winter 22: Appointment Distribution
One of the biggest bottlenecks is the number of resources whose calendar needs to be checked. As the number of eligible resources increases, Salesforce scheduler takes longer to fetch the resource list. For a 14 day period it is recommended that we keep around 20 eligible / qualified resources ie: In other words 20 resources with the same skill in the service territory if you are using the out of the box flows.
If the above doesn’t give you the performance boost needed then consider the new capability introduced in Winter 22 which will only look for the calendar of the x least utilised resources at that point and hence circumvent this problem.
Since you are considering the least utilised resources and showing up their slots, you will likely get most of the available slots and automatically balance the workload of your resources.
Here x is configurable(Click here for release notes)
Use the new Number of Resources to Show (Appointment Distribution) attribute in flows. This attribute is available in the Select Service Resource, Select Service Appointment Time, and Select Service Resource and Service Appointment Time screen components. If you’re using APIs, use the resourceLimitApptDistribution parameter. This parameter is available in the getAppointmentCandidates REST API and the available-territory-slots Connect API.
A simple test allowed me to manage a territory of 300 resources too using this feature on the flows shipped with the product, as long as I restricted the number of eligible resources (x) to 20.
Note: The above figure could change based on customisations and the specific data shape so would recommend running a test or proof of concept on your specific setup before moving ahead.